


Coconut macaroons are so delicious. It's an easy and simple recipe...or so I thought. Every time I baked it something went wrong. The first batch I made my oven decided to have a mind of it's own. I think they were in the oven for only 10 minutes when I smelled something burning. I opened the oven and to my surprise the temperature had quickly increased to 500 degrees! I changed the dial down to 200 degrees and the temp did lower but the bottoms had gotten very, very dark. I have an old gas oven, if you already didn't know from a past post.
My second batch I had forgotten the salt but that wasn't too bad. The taste was still pretty good. The third batch I decided to be ambitious and make it from memory. That was a horrible mistake. The recipe I use calls for 1/4 tsp. of salt and I ended up using 1 whole heaping teaspoon of it! I wasn't a huge fan of the taste but I had a friend try them and he didn't complain. I'm a bit of a perfectionist so I wanted to throw them away in disappointment. Instead, I gave them all to my friend, haha. The fourth batch came out the way I wanted. As they say, practice makes perfect!
My second batch I had forgotten the salt but that wasn't too bad. The taste was still pretty good. The third batch I decided to be ambitious and make it from memory. That was a horrible mistake. The recipe I use calls for 1/4 tsp. of salt and I ended up using 1 whole heaping teaspoon of it! I wasn't a huge fan of the taste but I had a friend try them and he didn't complain. I'm a bit of a perfectionist so I wanted to throw them away in disappointment. Instead, I gave them all to my friend, haha. The fourth batch came out the way I wanted. As they say, practice makes perfect!

Ingredients:
14 oz. sweetened shredded coconut
14 oz. can of sweetened condensed milk
1 teaspoon of vanilla extract
2 extra large eggs whites in room temperature
1/4 teaspoon salt
Directions:
Preheat oven to 325 degrees F. Combine the coconut, condensed milk and vanilla in a large bowl.
In a separate bowl whip the egg whites and salt at medium speed with a mixer fitted with the whisk attachment. Whisk until they make medium-firm peaks. Then carefully fold the egg white mixture into the coconut mixture. Drop the batter onto sheet pans lined with parchment paper or you can use a baking spray. You can use a tablespoon or a cookie scooper. Bake between 25-30 minutes, until golden brown. Let them cool then serve.

Pictured above is the first batch I made. See how the bottoms got very dark.
Here is a batch I made with chocolate drizzled on top. I used Bakers Semi-sweet chocolate squares. I just melted a few squares in the microwave and then drizzled them over after they were very cool. It takes a while for the chocolate to firm up so I placed them in the refrigerator for 15 minutes.


 Here they are after I rolled them into cake balls. It came out real nice with a tie-dye effect. Then I proceeded to dip the sticks in some chocolate and placed them in each cake ball. Then I placed them in the refrigerator for just a few minutes and then took them out while I had my candy melts in my Babycakes Chocolatier getting melted. When the chocolate was just the right consistency I proceeded to dip. NOTE: I alway have issues with my candy melts getting too thick so I always add a tablespoon of melted shortening.


 I placed the candy melts inside and plugged it in. It took a while for them to melt, around 30 minutes.
 Here is a close up of one of the cracked cake pops. I had 3 of these in the second batch I made.
 The first batch of cake pops I made were red velvet and covered in sprinkles. These didn't crack. I read online that air bubbles can cause cracking and I think the sprinkles helped prevent air bubbles in the chocolate.
 I made the cake pops for a 5 year-old's birthday party. She adored them and they were a huge success.

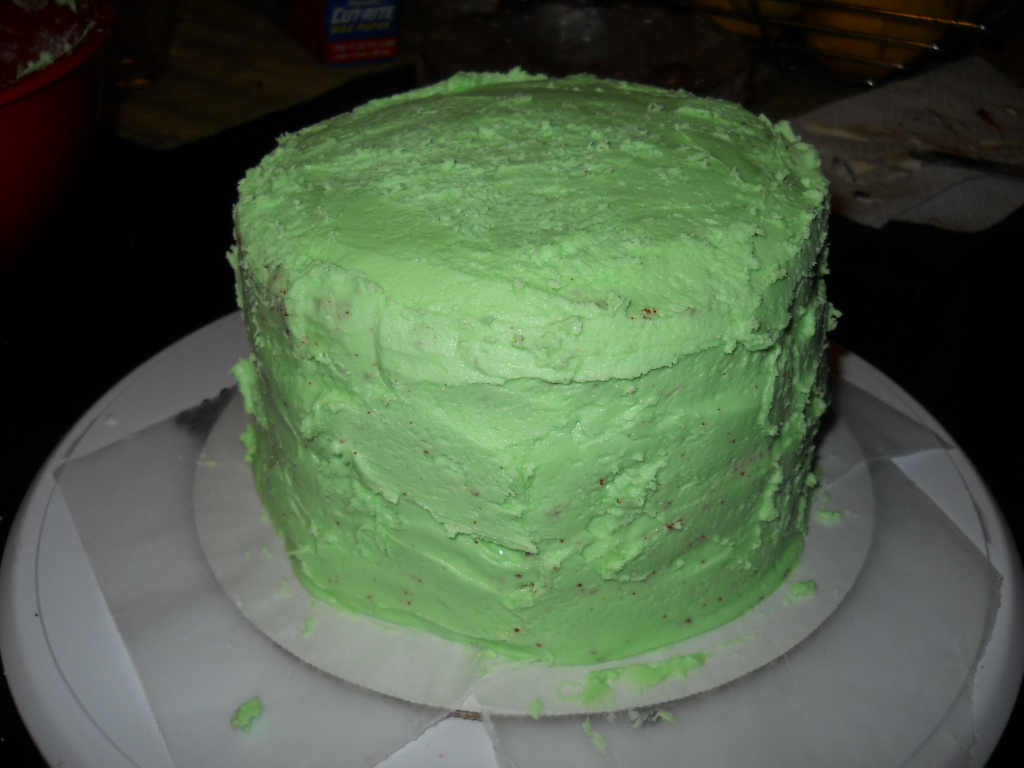
 This is what it looks like after I removed the top.

 Sugar cookie pops for a Willie Wonka theme at work for Halloween. It was my first time making cookie pops and I had a lot of fun. Very simple to do except when I was trying to make the icing colors real bright and dark. I had to use a lot of icing color gel, especially to make red. But it was a huge success!
 I made these adorable football themed cupcakes for my co-worker's son's birthday bash. They were chocolate chip flavored and a big hit. It was tedious piping the green grass but it was worth it. The footballs were made out of chocolate from a football mold.
 I made these orange marmalade cupcakes for fun oneday. I got the recipe off of Martha Stewart's website. I made a cocoa flavored, cream cheese frosting with a hint of almond extract and added the almonds on top. They were delicious!
 I made these fudge brownie, mint chip cake pops for a christmas party at work. Everyone loved them!


